Are you searching for tips on photographing the Northern Lights in Iceland? Then you have come to the right place. In this article, we will spill all the secrets on how to get the best Northern Lights photos, including all the best camera settings for the Aurora Borealis. This post will also include helpful tips for photographing the Northern Lights for beginners.
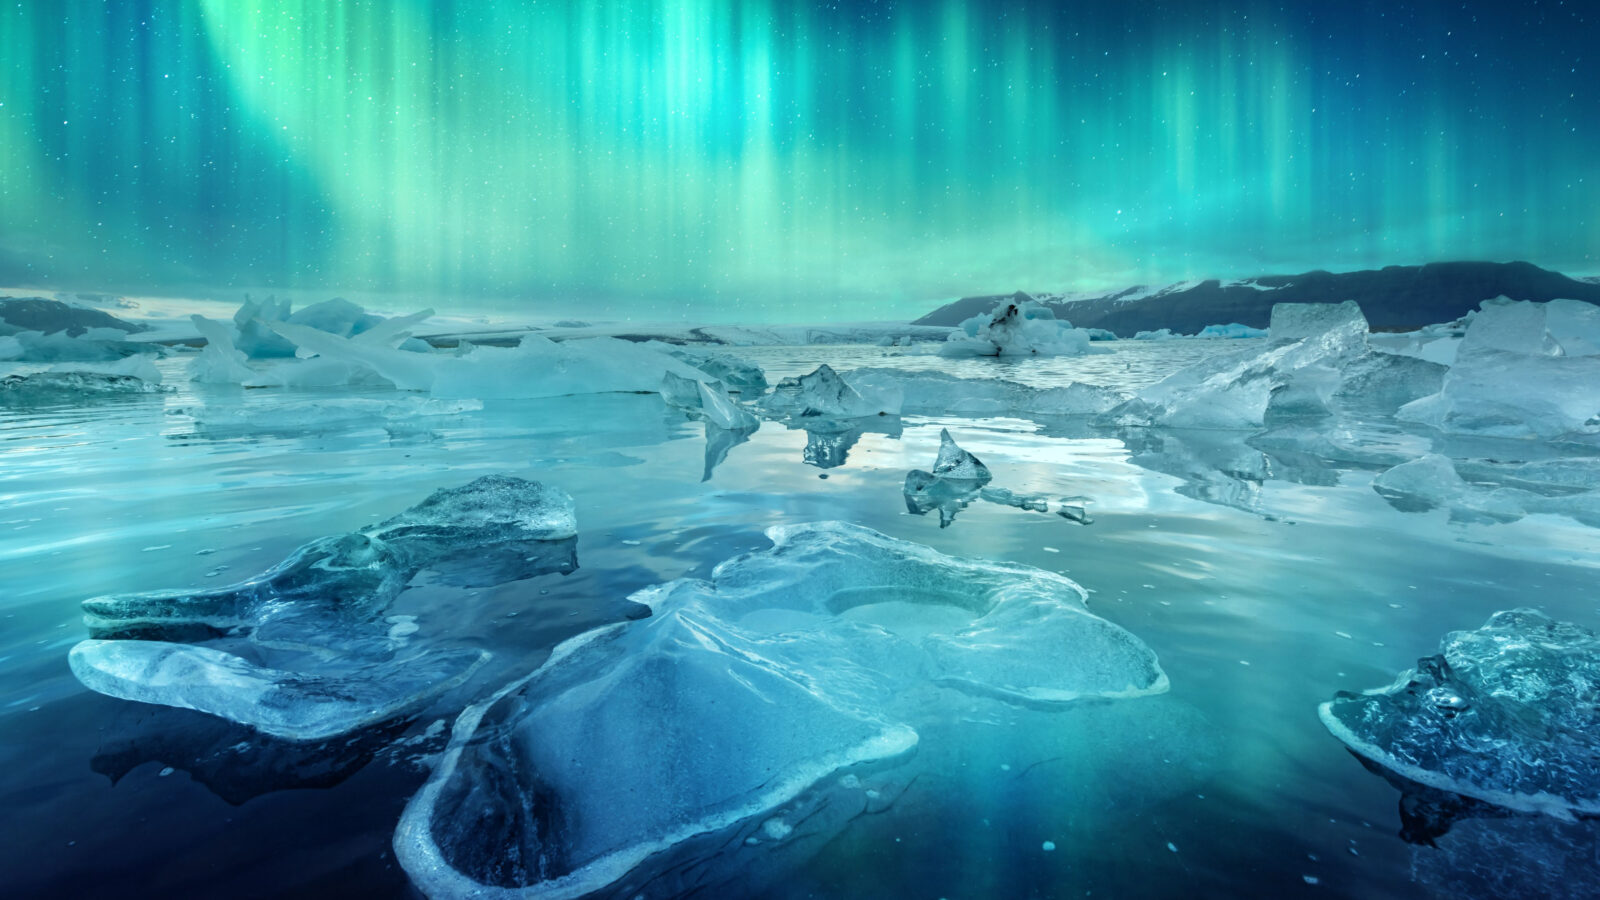
The Aurora Borealis is one of our favorite things to photograph. It is such an incredible sight to witness the dancing lights in the sky, it is like pure magic in the air. When we first saw the Northern Lights we were surprised by how many colors there were. We saw green, magenta, and even blue ribbons of brilliant colors!
Witnessing the Northern Lights in Iceland was such an amazing experience. We just knew we had to share the tips and tricks on how to capture photos of the incredible phenomena. So, we wrote this article for everyone who wants to try out photographing the Northern Lights. We will share everything we know on how to see the Northern Lights, camera settings, gear recommendations, apps that help find clear skies, and more!
Let us delay no further. Here are the best tips for photographing the Northern Lights.
Where To See The Northern Lights
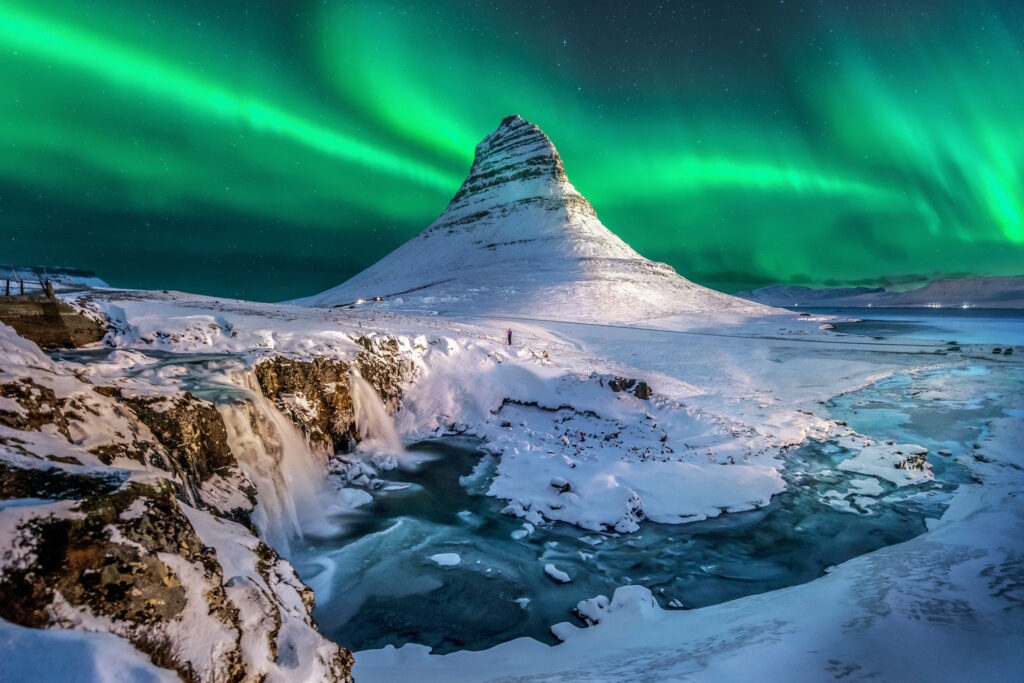
In order to see the Northern Lights, you will first need to be in a dark sky area of the northern hemisphere. That’s because the Northern Lights, or Aurora Borealis, are actually centered around Earth’s northern magnetic pole.
In fact, the closer you get to the arctic circle, the better chance you have of witnessing the Northern Lights. You can see the Northern Lights in Iceland, Canada, Alaska, Norway, Sweden, Finland, and Greenland. But there is still another part of the recipe for success to capture the best Northern Lights photos…
In order to photograph the Northern Lights, you will also need to have clear skies. That means we need no clouds in the sky, or at least, very few. This is because clouds hang lower in the atmosphere than Earth’s magnetic field does. In turn, the low hanging cloud layers cause the magical dance of the auroras to be hidden away.
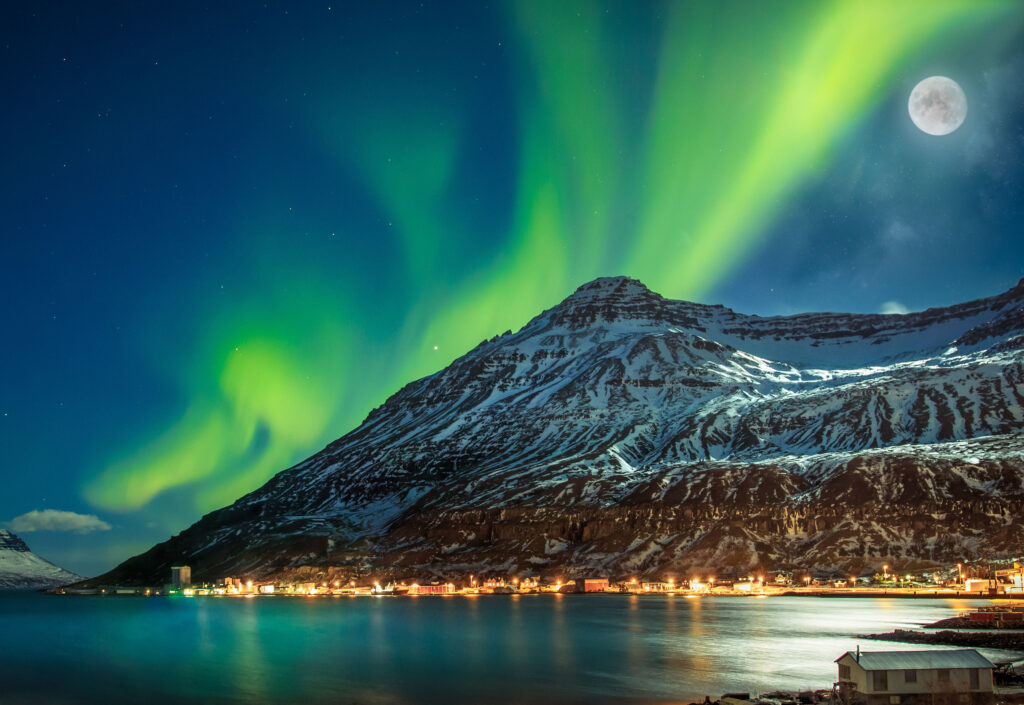
The last piece of the puzzle to capturing great Northern Lights photos is to limit the amount of light pollution affecting your shot. Without city lights, the Aurora Borealis is much easier to capture. While some people may say that the moon also makes seeing the Northern Lights harder, that isn’t necessarily true. If the Aurora activity is low, then the moon may have an overpowering amount of light pollution; However, if the Aurora activity is moderate or high, the moon may make Northern Lights photos even more dynamic.
Best Camera Equipment For Northern Lights Photography
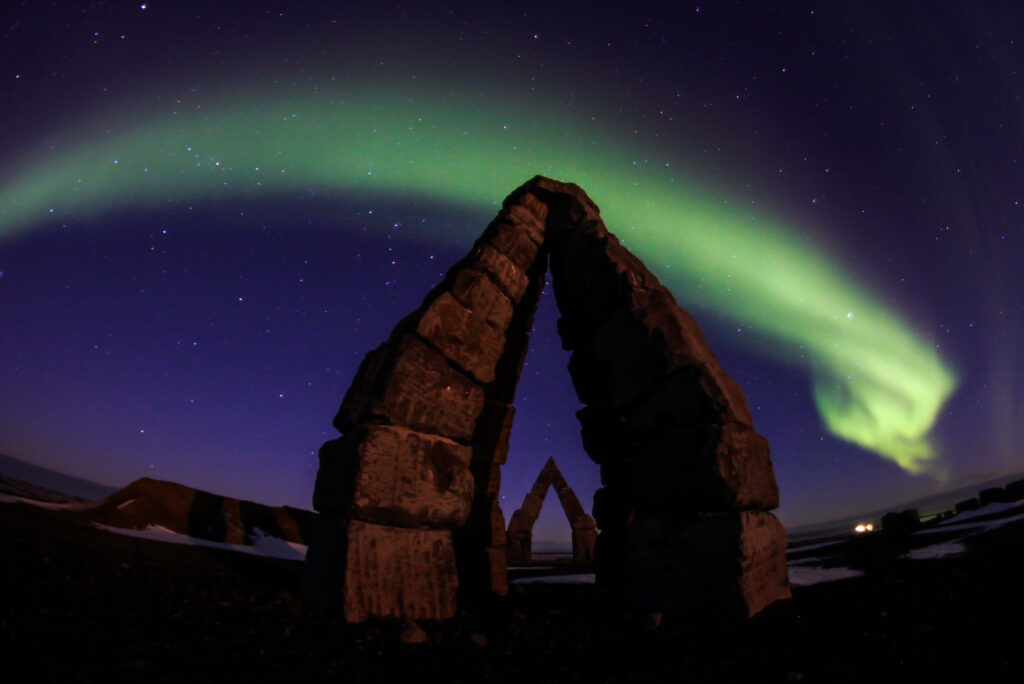
Now, let’s talk gear. The best camera equipment for Northern Lights photography can be found online or in camera shops.
First, begin with a DSLR or mirrorless camera body and a wide angle lens. You will also need a sturdy tripod, and a camera shutter trigger. With these four items, you will be able to start your journey to photographing the Northern Lights.
While the best Northern Lights photos come from full-frame cameras like DSLRs and mirrorless, you can still get memorable shots from your iPhone, or digital camera. Just don’t expect the same quality when shooting on the latter two.
A Camera
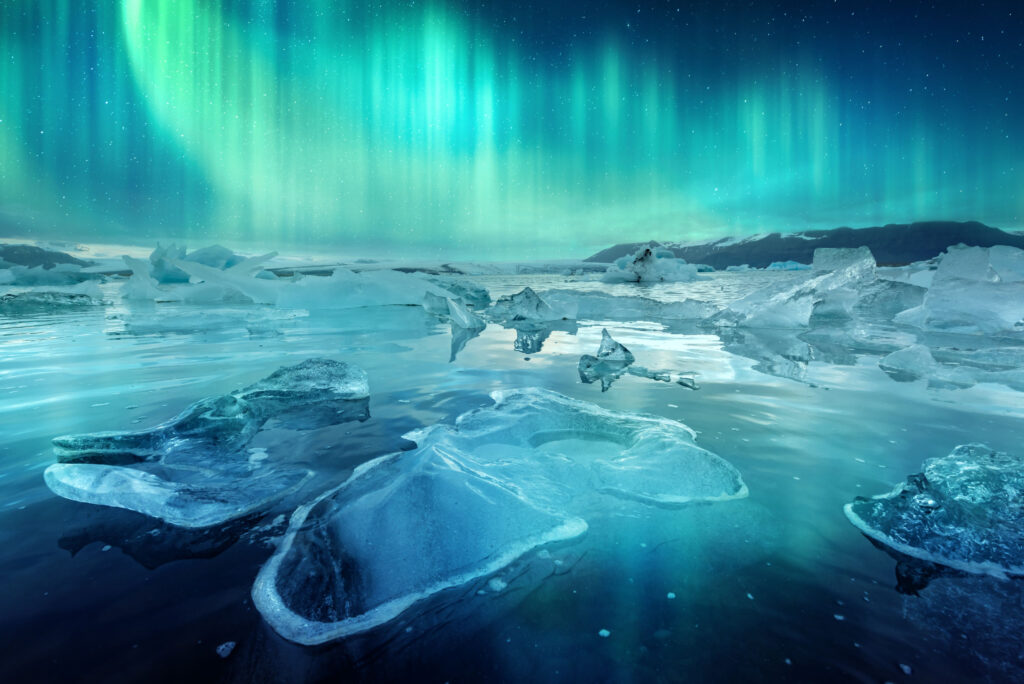
In order to photograph the Northern Lights, you will first need a camera that has manual mode functionality. The best camera to purchase for photographing the Northern Lights for beginners is the Canon EOS 6D Mark II.
This incredibly lightweight camera is great for travel and has a full-frame sensor. The Canon EOS 6D Mark II has an amazing ISO range that extends up to 32,000 for getting Northern Lights photos without the addition of image noise.
If you prefer the aesthetic of other cameras like Sony or Nikon, just make sure to look for a camera with manual mode with a full-frame sensor and a high-extending ISO range.
A Wide Angle Lens
The best lens for Northern Lights photography will be a wide-angle lens with a fast aperture. For Northern Lights photography, we suggest using the Canon EF 16–35mm f/2.8L III USM lens. Not only is this lens wide enough to capture the dancing Northern Lights with landscape scenes underneath, but it also has a very fast aperture which is great for low light conditions.
We also think this is the best lens for Northern Lights photography because it is so versatile for travel. While prime lenses are capable of handling the fastest apertures, lenses are very heavy, and carrying around multiple lenses on travels can prove to be very tiresome.
The Canon EF 16-35mm f/2.8 lens is awesome because it can serve as the one-all lens for most of the travel photography. These wide-angle lenses do a great job of capturing landscapes and urban photography on top of handling Northern Lights photography like a boss.
While we think Canon makes for the most dreamy photos, if you prefer other camera brand aesthetics, we suggest using a wide-angle lens with an aperture of f/1.8, f/2.8, or at max, f/4.
A Sturdy Tripod
Another must for Northern Lights photography is a trusty sturdy tripod. This will come in handy to anchor down your camera. Trying to photograph the Northern Lights without a tripod will prove to be very ineffective. There are too many vibrations affecting the camera for shooting in low light conditions for handheld shots to come out focused and sharp. Trust us, you need a tripod.
For a good tripod, we suggest using the Peak Design Travel Tripod. Not only does Peak Design create intuitive and easy-to-use products, but this tripod also packs down to be the diameter of a water bottle. This tripod can hold up to 20 lbs. and comes with shock-absorbing feet. With this trusty tripod, you’ll be able to capture beautifully crisp and focused Northern Lights photos.
A Camera Shutter Trigger
Okay so you may not think that a camera shutter trigger would come in handy for Northern Lights photos, but it is actually crucial to the process. When photographing the Northern Lights, you will need to avoid any vibrations that affect your camera. The best way to do that when photographing the Northern Lights is to use a remote camera shutter trigger.
In order to capture Northern Lights photos, you have to slow down the shutter speed and use a very wide aperture which will cause the camera to be more sensitive to movement. Things like touching the camera, walking around the tripod, and even wind can cause vibrations. Having an automatic shutter trigger helps to eliminate these vibrations from affecting your shot. Instead, you are able to stand a couple of feet away from the camera and still get the shot.
The Canon Wireless Remote Control will do the trick just fine. Set the shutter trigger for a 2-5 second delay for the best Northern Lights photos.
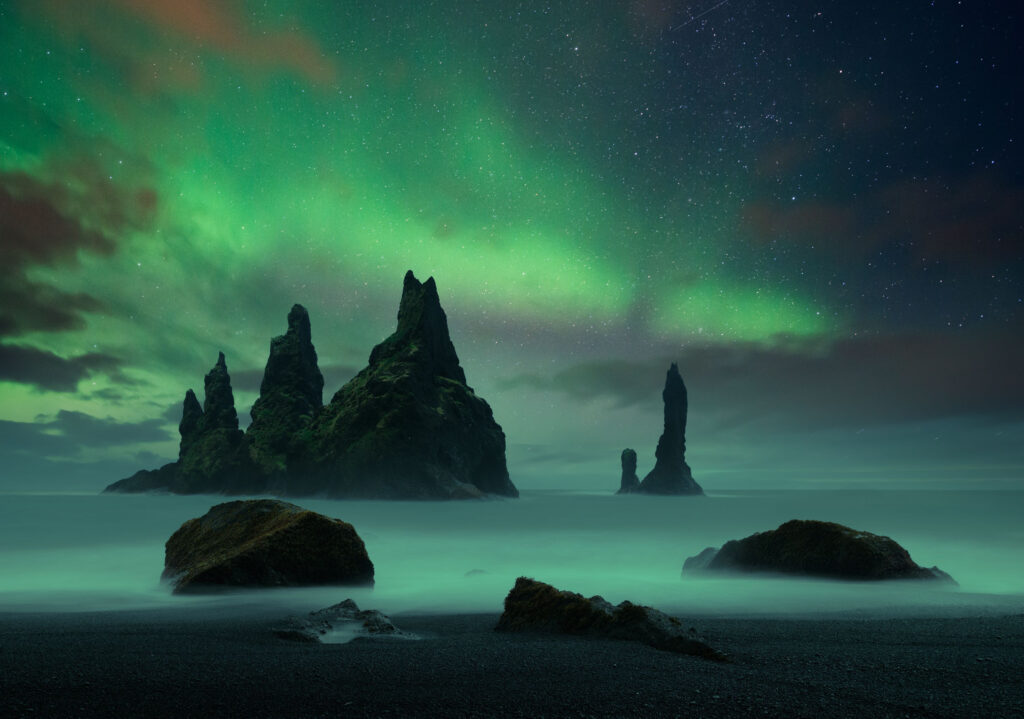
Best Camera Settings For Photographing The Northern Lights
So you have your camera and set up the tripod and remote shutter trigger. Now you are ready to use the best camera settings for photographing the Northern Lights. We will go into detail on how to select the correct camera mode, adjust the ISO, choose the best aperture, and slow down the shutter speed. Finally, we will help you set the white balance and get the best file format for incredible Northern Lights photos.
Camera Mode for Aurora Photos
Use the manual (M) camera mode for aurora photos. Set the lens to manual focus (MF) as well. You’ll want to take your time and excise patience when adjusting for all the factors involved in photographing the Northern Lights.
Another one of the best camera settings to adjust when photographing the Northern Lights is the camera screen’s brightness. The bright screen can give a false perception that the image is exposed correctly when it is actually under-exposed. Avoid this by setting the camera screen to about 50% brightness.
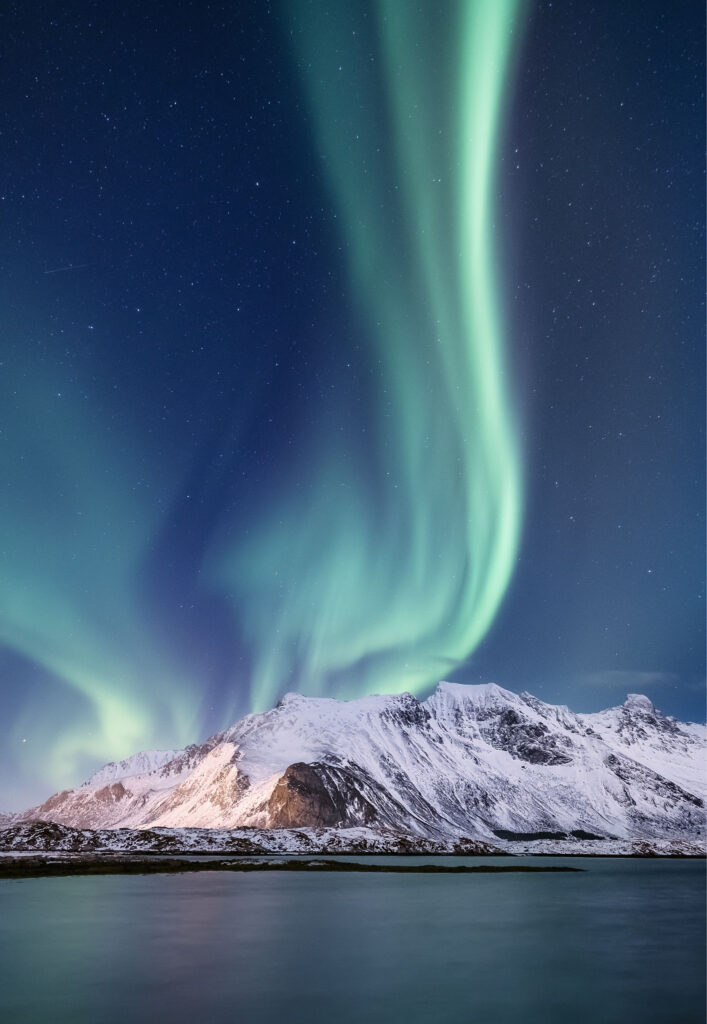
White Balance for Northern Lights Photos
For best practices, set a manual white balance for Northern Lights photos. With the challenge of dynamic lighting within the scene, you’ll want to take charge of how the camera interprets that light. To get the most scrumpdilyumtous natural colors of the beautiful Auroras, manually set the white balance to 3500 Kelvin.
Best ISO for Northern Lights
Adjust camera settings to get the best ISO for Northern Lights. ISO directly affects how bright or dark your image turns out. The challenge is to illuminate the dark parts of the shot such as the stars beyond the Auroras or the scenery from the land below, while at the same time not blowing out the highlights of the Northern Lights.
The ISO you set will depend heavily on the camera you choose to photograph the Northern Lights. While full-frame cameras can set a higher ISO without negatively affecting the image, not every camera is made with the same ability. For a well-lit image, place the shutter speed between 3200- 6400 ISO. Higher-end cameras can generally handle up to 6400 ISO, whereas entry-level cameras will do best at 3200 or below.
If there are external factors affecting your shot, such as city lights or bright moonlight, then take advantage of using an even lower ISO. For these instances, we suggest trying out an ISO range somewhere between 800-3200. Experiment with these settings until the image is well-lit without the addition of image noise.
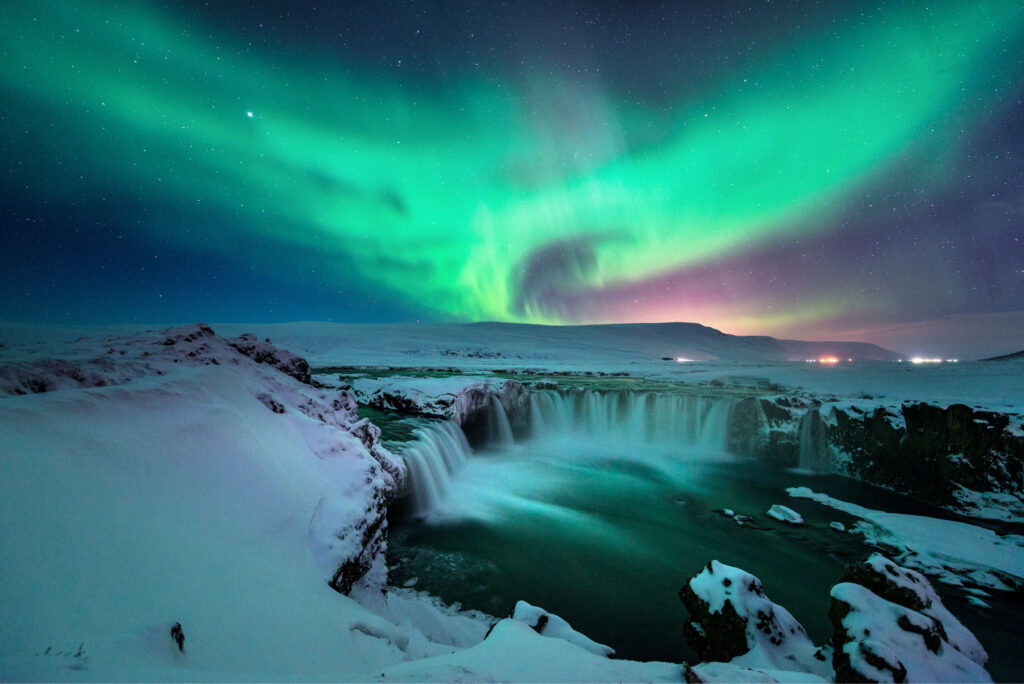
Shutter Speed for Aurora Photos
Shutter speed is one of the important camera settings for the Northern Lights. In fact, shutter speed may be the difference between getting that shot, or not. Because the Northern Lights are a bit unpredictable, we will teach you how to adjust accordingly for photographing Aurora Borealis.
When choosing a good shutter speed, consider how much light you need to reach the camera sensor and how fast the subject is moving. Nighttime photos will generally need a longer exposure to allow the small bits of light to hit the sensor. However, when you have bright Auroras illuminating and dancing in the sky, the shutter speed required may be faster. That means adjustments will need to be made according to the movement and brightness of the Northern lights.
For good practice in photographing the Northern Lights, we suggest using a shutter speed that lasts between 1-15 seconds. When shooting bright and fast-moving Auroras, use between 1-3 seconds to freeze them in their tracks.
To capture auroras that are visible to the naked eye, yet exhibit slower movement, try setting the shutter speed between 3-8 seconds. Finally, if you are trying to shoot very faint Northern Lights, slow down the shutter speed between 8-15 seconds.
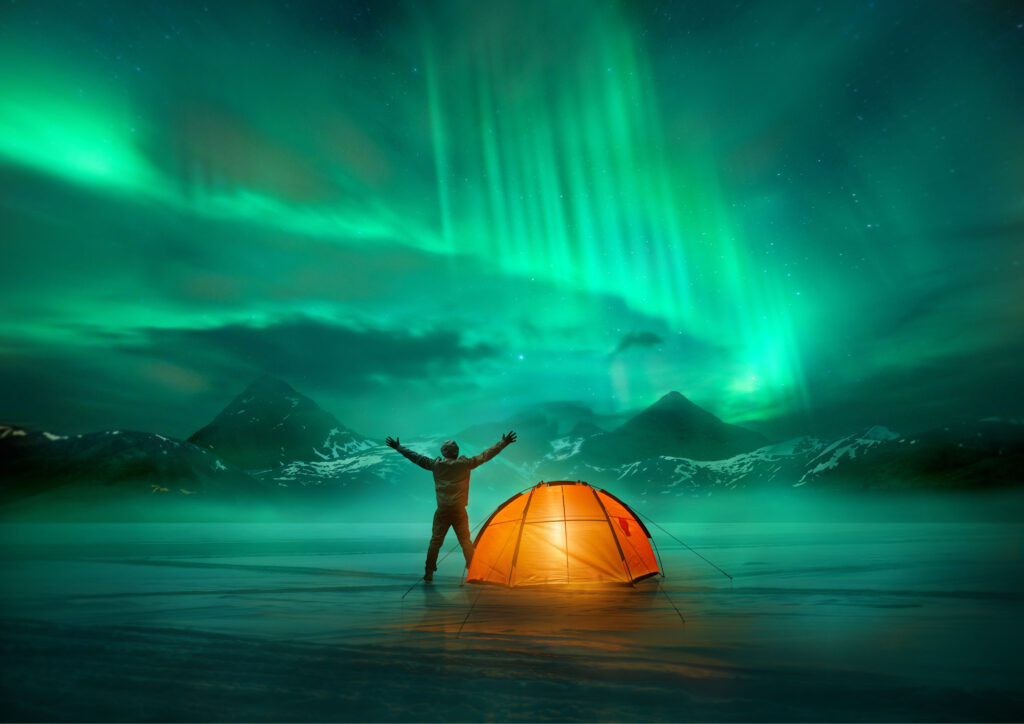
Aperture for Northern Lights Photos
For best practices in photographing the Northern Lights, you will need to adjust the camera settings to the widest aperture that your camera allows. This is where having the best lens for the Northern Lights matters. We suggest using a camera lens that can handle f/2.8 or lower.
Having a wide set aperture means that you are allowing for the most light to enter the camera as possible. Doing so will allow you to use a shorter shutter speed as well. With a wide aperture and a quicker shutter speed, you can capture Northern Lights photos with less digital noise. Having digital noise is just the technical way to say the photo looks a bit grainy, rather than sharp. We want to create sharp images of the Northern Lights.
File Format [RAW] Northern Lights Camera Settings For Beginners
The best Northern Lights camera settings for beginners would be this: use the manual mode for the camera and lens settings, and shoot in RAW format. Next, turn the white balance to 3500 Kelvin. Then, set the shutter speed to around 1-15 seconds and open the lens to an aperture of f/2.8. Finally, adjust the camera to use the lowest possible ISO that you can- somewhere between 3600-6400.
Shooting in RAW file format is the best Northern Lights camera setting for beginners. That is because the camera will not compress the image when shooting in RAW file format. Having an uncompressed image just means that the image retains all of the original data that the image contained. This good because RAW images allow you the most data to work with in editing software like Lightroom and Photoshop.
How To Focus Your Camera At Night
Focusing the camera on night photography can be tricky as autofocusing at night is nearly impossible. We suggest beginning by turning the lens focus to the infinity sign, then adjusting the dial from there to get a sharp focus. Use the stars as your focusing guide.
To make it easier, use the camera live view function to zoom in on the stars and check the focus. Are the stars blurry? Gently turn the focus ring and try again. Focusing your camera at night is a trial and error process. It will require some patience as you get the best Northern Lights photos sharp and in focus.
Can You Take Northern Lights Photos With A Phone?
Yes, it is absolutely possible to take Northern Lights photos with a phone. While the photos will not come out with the same quality as a DSLR or mirrorless camera, you can still take memorable photos of the Auroras with a phone.
To do this, you will still want to switch the phone’s camera to manual mode. Use the widest aperture setting the phone will allow and pair it with using a slower shutter speed that lasts around 10 seconds. Finally, don’t forget to use the tripod and remote timer for the best photos possible. Note that with phones, in particular, the higher resolution cameras will produce better pictures. Look for phones with at least 12 megapixels to get the best Northern Lights photos.
Useful Tips For Photographing The Northern Lights
To help make the process even easier, we will share our favorite apps that aid in knowing when and where to set up the camera for Northern Lights photos.
First, the best tool to use when searching out Northern Lights photography is the Kp index. This index forecasts the disturbances in the magnetic field which cause the Aurora Lights to appear in the sky.
While the Northern Lights can be seen in Iceland when the scale is at a mere 2, the best chance of witnessing the Auroras will be when a 4 is predicted. The scale goes all the way up to 9 at which a major solar storm is predicted. Hello, Aurora is a great app that shows where people have spotted the Aurora Borealis in real-time.
Secondly, we highly recommend using Astrospheric to find clear skies for Northern Lights photography. This app shows cloud coverage along with sky transparency. You can check cloud forecasts by the hour and it even has a radar display.
This app even includes the Kp index for Aurora viewing along with sunset and sunrise times. Light Pollution Map is another great app that has similar features yet also shows where the darkest skies can be found. You can even set alerts with these apps for real-time updates.
Also, we recommend checking out our other blog posts for more tips. Read up on our post containing the best photography locations in Iceland. We will also share more details on how to see the Northern Lights in Iceland and even include the best trip itineraries from 1 day to 2 weeks.
Finally, the absolute best tip for photographing the Northern Lights would be to remember to exercise patience. When we first began taking photos of the Northern Lights, it seemed like it took forever to get the photos in focus.
The excitement of the Auroras Borealis was killing us and we just had to capture them! However, learning the settings can be tricky and it took some time to get amazing photos. Our sage advice to you is just to keep trying. You can and you will get that perfect photo by following these camera setting tips.
We hope these tips and tricks help you to begin your journey photographing the Northern Lights. Search the skies for the dancing magnetic light show and feel the magic in the air. Take a memorable holiday to search for them in Norway, Sweden, Greenland, Iceland, Canada, and Finland. We promise it will be an unforgettable memory worth photographing.
Now that we have shared all of our secrets to photographing the Northern Lights, it is your turn. All you need is a camera, a wide-angle lens, a sturdy tripod, and a remote camera shutter. Bringing some extra batteries along won’t hurt of course. Get out there and capture your own amazing photos of the Aurora Borealis. Good luck!

 20 Best Iceland Photography Locations You Must Visit